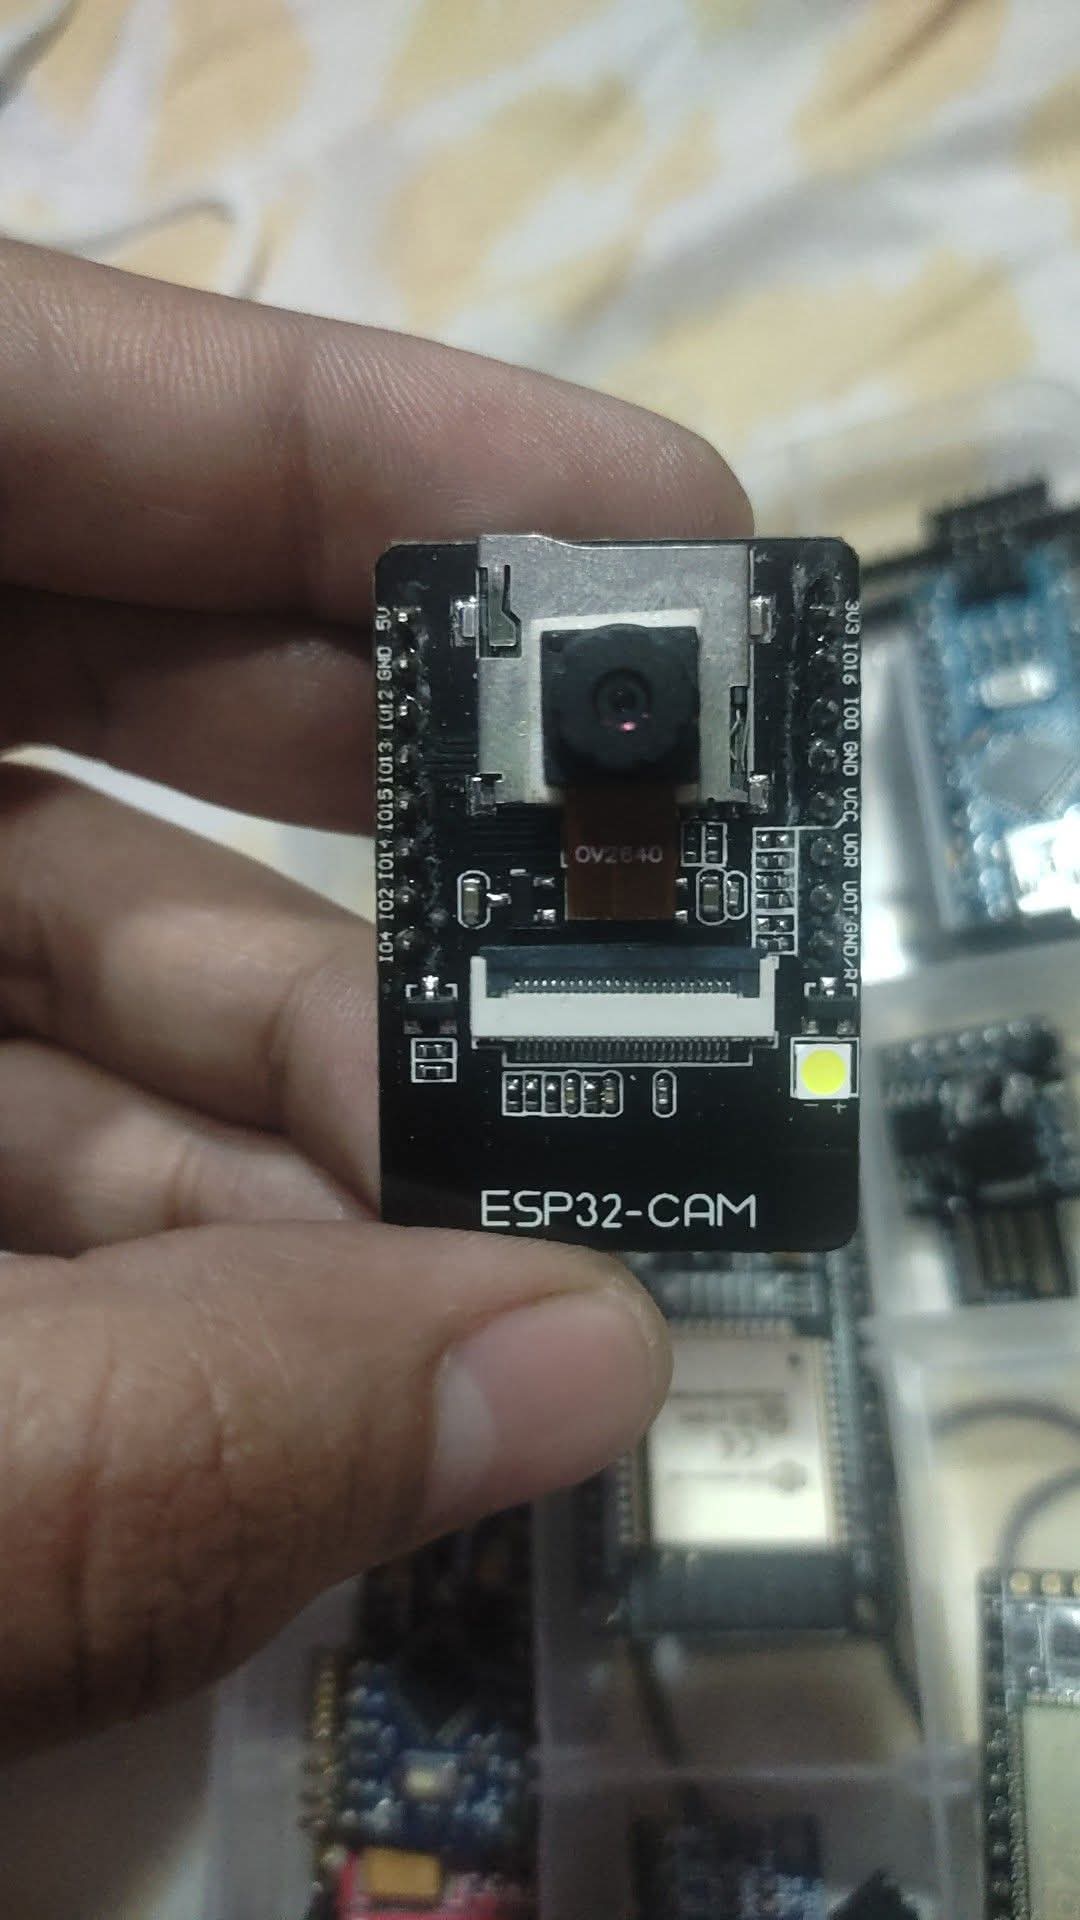
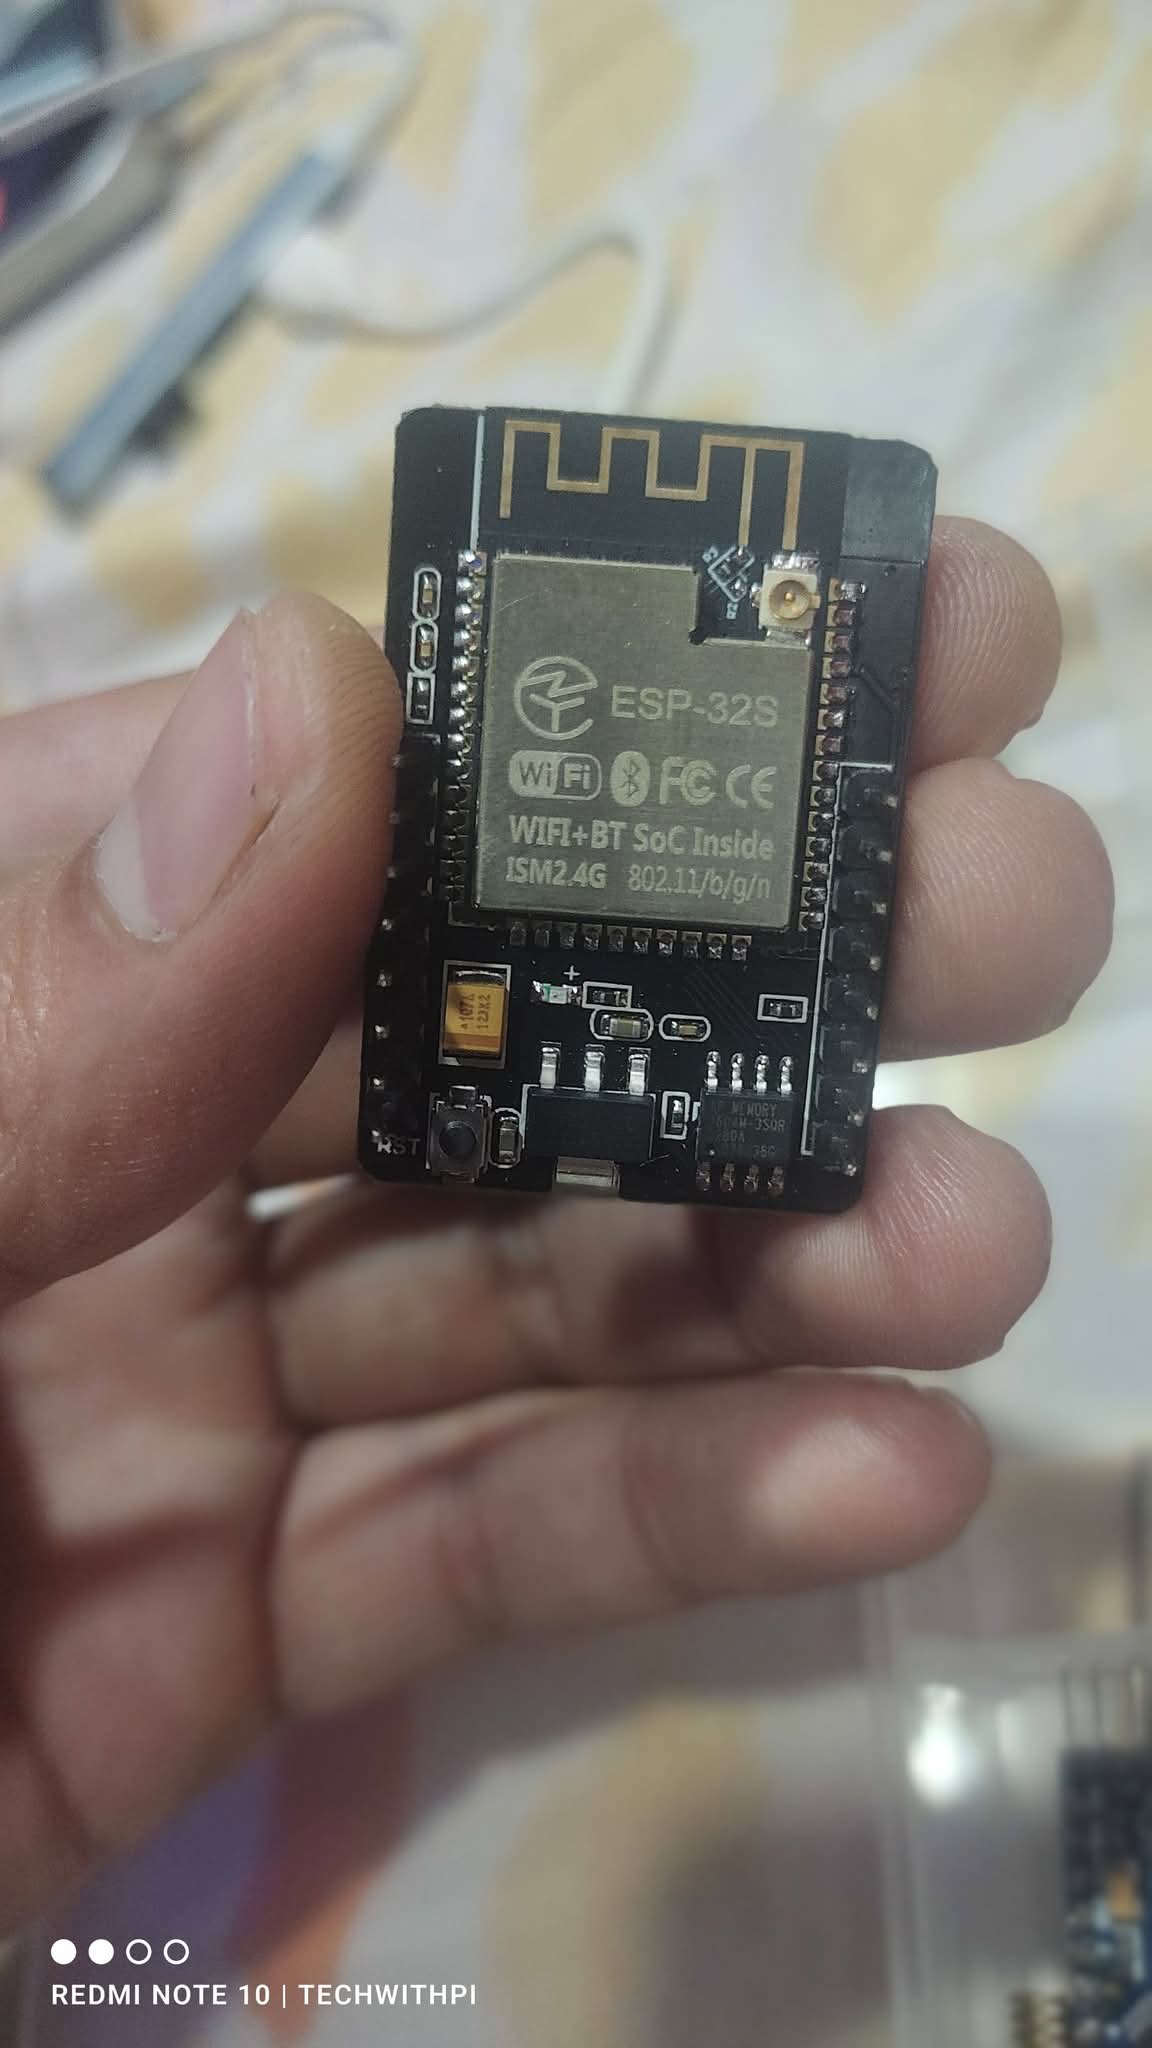
Many of you might have needed a hidden recording device at some point—whether for home security, surveillance, or undercover projects. If you’re looking for a wireless, battery-powered spy camera, then today’s project is just for you!
We’re building a compact, portable ESP32-CAM spy cam that records video without WiFi, directly to an SD card. It’s completely wireless, making it perfect for covert surveillance.
⚡ Full project details are given below!
✅ Step-by-step guide
✅ Complete wiring & code
✅ Battery-powered & portable
Don't forget to FOLLOW the page for more awesome projects!
ESP32-CAM Battery-Powered Spy Camera with SD Card Recording
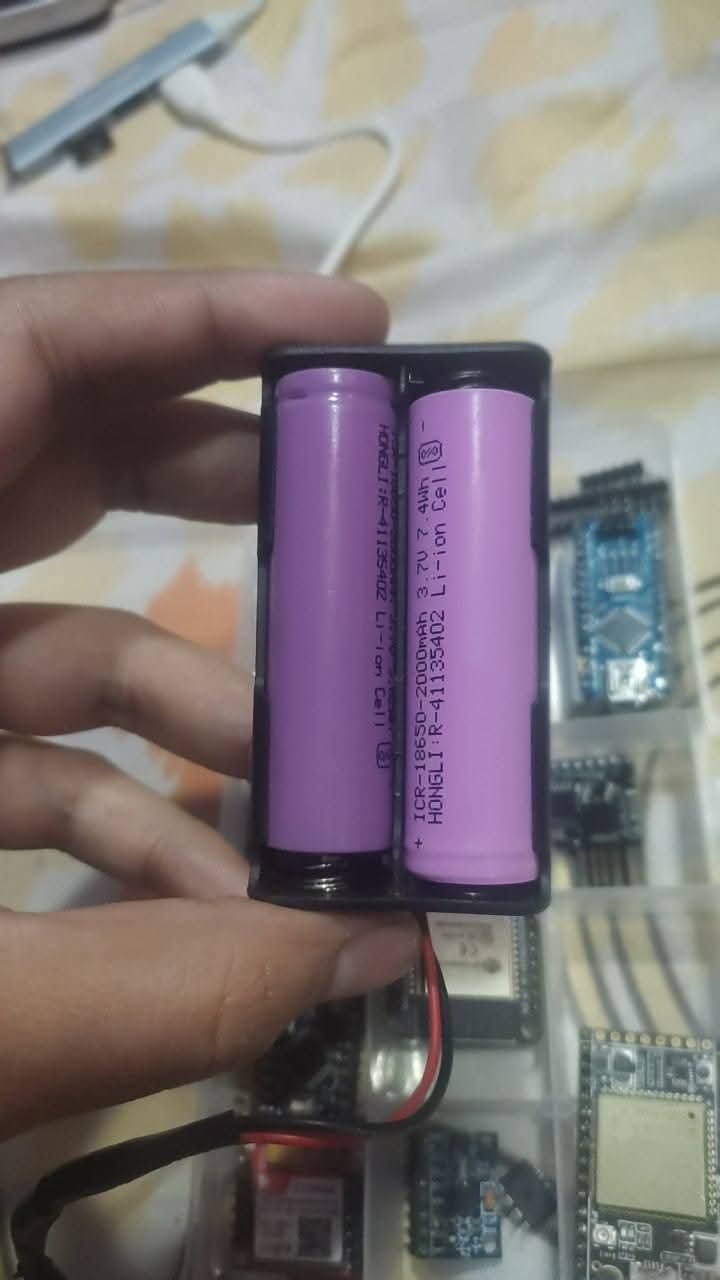
This project will help you build a battery-powered hidden camera using ESP32-CAM that records video on an SD card. It will work as a standalone device without WiFi and will run on a rechargeable Li-ion battery.
Features of This Project
✔ Small & Portable → Runs on a battery
✔ Records video to SD Card → No internet required
✔ Low Power Mode → Saves battery
✔ Compact Design → Easy to hide
Components Required
Circuit Diagram
Battery (3.7V) → TP4056 Charger Module
TP4056 → Boost Converter (MT3608) → ESP32-CAM (5V & GND)
ESP32-CAM → MicroSD Card (Built-in slot)
Step-by-Step Instructions
1. Powering the ESP32-CAM with a Battery
Connect the Li-ion battery to the TP4056 module.
Use the MT3608 boost converter to step up 3.7V to 5V.
Connect the 5V output of the boost converter to the ESP32-CAM’s 5V pin.
Add an ON/OFF switch between the battery and the TP4056 module.
2. Flashing Code to ESP32-CAM
Libraries Required
Before uploading the code, install these libraries in Arduino IDE:
ESP32 Board Package
FS.h (File System for SD card)
SD_MMC.h (For SD card handling)
ESP32Cam.h (For camera module)
3. Arduino Code for SD Card Recording
#include "esp_camera.h"
#include "FS.h" // File System for SD card
#include "SD_MMC.h" // SD card library
#include "Arduino.h"
// Define Camera Pins for ESP32-CAM
#define PWDN_GPIO_NUM -1
#define RESET_GPIO_NUM -1
#define XCLK_GPIO_NUM 0
#define SIOD_GPIO_NUM 26
#define SIOC_GPIO_NUM 27
#define Y9_GPIO_NUM 35
#define Y8_GPIO_NUM 34
#define Y7_GPIO_NUM 39
#define Y6_GPIO_NUM 36
#define Y5_GPIO_NUM 21
#define Y4_GPIO_NUM 19
#define Y3_GPIO_NUM 18
#define Y2_GPIO_NUM 5
#define VSYNC_GPIO_NUM 25
#define HREF_GPIO_NUM 23
#define PCLK_GPIO_NUM 22
// Function to initialize camera
void setupCamera() {
camera_config_t config;
config.ledc_channel = LEDC_CHANNEL_0;
config.ledc_timer = LEDC_TIMER_0;
config.pin_d0 = Y2_GPIO_NUM;
config.pin_d1 = Y3_GPIO_NUM;
config.pin_d2 = Y4_GPIO_NUM;
config.pin_d3 = Y5_GPIO_NUM;
config.pin_d4 = Y6_GPIO_NUM;
config.pin_d5 = Y7_GPIO_NUM;
config.pin_d6 = Y8_GPIO_NUM;
config.pin_d7 = Y9_GPIO_NUM;
config.pin_xclk = XCLK_GPIO_NUM;
config.pin_pclk = PCLK_GPIO_NUM;
config.pin_vsync = VSYNC_GPIO_NUM;
config.pin_href = HREF_GPIO_NUM;
config.pin_sscb_sda = SIOD_GPIO_NUM;
config.pin_sscb_scl = SIOC_GPIO_NUM;
config.pin_pwdn = PWDN_GPIO_NUM;
config.pin_reset = RESET_GPIO_NUM;
config.xclk_freq_hz = 20000000;
config.pixel_format = PIXFORMAT_JPEG;
if (psramFound()) {
config.frame_size = FRAMESIZE_VGA; // Set resolution
config.jpeg_quality = 12; // Lower means better quality
config.fb_count = 1;
} else {
config.frame_size = FRAMESIZE_CIF;
config.jpeg_quality = 12;
config.fb_count = 1;
}
// Initialize camera
esp_err_t err = esp_camera_init(&config);
if (err != ESP_OK) {
Serial.println("Camera init failed!");
return;
}
}
// Function to save captured image to SD card
void captureAndSave() {
camera_fb_t *fb = esp_camera_fb_get();
if (!fb) {
Serial.println("Camera capture failed");
return;
}
// Create file name with timestamp
String fileName = "/pic" + String(millis()) + ".jpg";
File file = SD_MMC.open(fileName, FILE_WRITE);
if (!file) {
Serial.println("Failed to open file for writing");
return;
}
file.write(fb->buf, fb->len);
file.close();
esp_camera_fb_return(fb);
Serial.println("Image saved: " + fileName);
}
void setup() {
Serial.begin(115200);
setupCamera();
// Initialize SD card
if (!SD_MMC.begin()) {
Serial.println("SD Card Mount Failed");
return;
}
Serial.println("SD Card initialized successfully");
}
void loop() {
captureAndSave();
delay(5000); // Capture every 5 seconds
}
4. How It Works
1. ESP32-CAM captures an image every 5 seconds and saves it to the SD card.
2. If the SD card is full, the oldest images can be deleted manually or with a script.
3. The low-power mode can be added to improve battery life.
5. Optional Features
🔹 Motion Detection → Add a PIR sensor to trigger recording only when motion is detected.
🔹 Live Streaming → ESP32-CAM can send the video stream over WiFi if needed.
🔹 WiFi File Access → Set up a local web server to access saved files wirelessly.
#SpyCamera #WirelessCam #ESP32CAM #HiddenCamera #TechWithPi #Surveillance #DIYProject #Arduino #BatteryPowered #TechGadgets #SecurityCamera #Electronics #RaspberryPi #IoT #EmbeddedSystems #SecretRecording #TechHacks
Comments (0)
Be the first to comment!